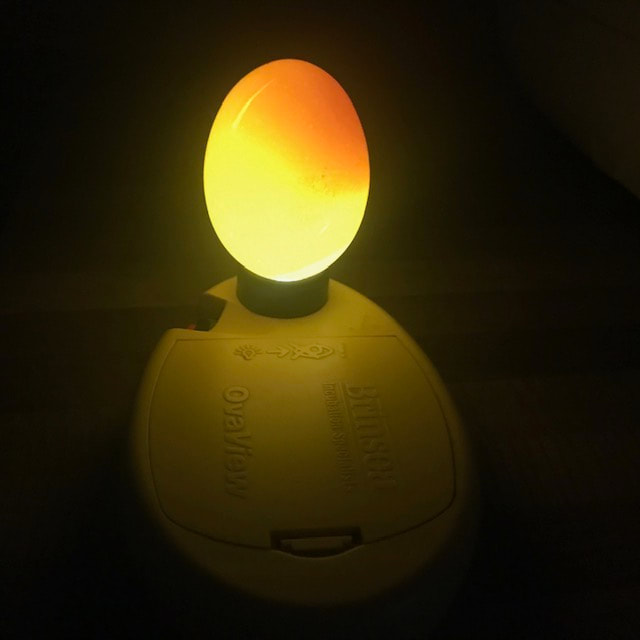
theheritagefarm.co.uk
  • Farm Shop
    • Goats Milk Soaps
    • Shampoo Bars
    • Gifts Options
    • Whipped Body Butter
  • About Us
  • Learn About Our Animals
    • Rare Breed Poultry & Game
    • Dorset Sheep
    • Nubian Goats
  • FAQ
  • Contact Us
  • Blog
  • Wait List - Poultry/Game
  • Wait List - Sheep/Goats

The Heritage Farm

Candling Eggs Guide

21/3/2021

0 Comments

 
Picture

What is Candling?

It is time to candle the eggs! Candling is the act of shining a strong light through the egg to establish fertility, and general embryo development. 

If you have chosen to candle the eggs, then the optimal time to do it to test fertility is between days 7 and 10. Ideally use a specialised candling light, and always candle in a darkened room to have the best chance of seeing inside the shell. 

To successfully hatch out chicks you do not need to candle eggs. Especially if you are new to hatching, then you may want to wait until you have a few hatchings under your belt before you take on this new skill! 

However when done correctly, candling can help sort the fertile from the non-fertile eggs, and it manages your expectations regarding the number of chicks you can hope to expect. 

How to Candle an egg

Ideally, use a specialised candling light, and always candle in a darkened room to have the best chance of seeing inside the shell. 

You will likely see three different options. 
  • If the inside of the egg is clear, that is, you cannot see any visible structures or dark areas, then this egg is not fertile. You can remove this egg from the incubator. 
 
  • If you see a ring of red within the egg shell, this means that at one stage there was an embryo, but it has since failed to develop. You can also remove this egg from continued incubation. 
 
  • If you can see blood vessels within the egg, there is a live embryo inside. Blood vessels in chicken eggs are normally observable within 7 to 10 days of an egg's incubation. By 18 days of incubation, the embryo takes up most of the egg and appears as a dark area within the egg. You can sometimes see movement inside the egg.
 
If you notice broken or leaking eggs, remove them from the incubator as they are not likely to be viable and may contaminate the incubator. After candling, return eggs to the incubator and return to the day 1-18 turning schedule.

With candling it is important to be careful and quick. An incubated egg cannot be away from its optimal temperature and humidity for more than a few minutes. If it is, then you could potentially turn a fertile and viable egg into one that stops developing from that point. 

If you have a large number of eggs to candle, it may be better to do a few eggs at a time.
Picture
0 Comments

Hatching Eggs Have Arrived! What next?

16/3/2021

0 Comments

 
Picture
Thank you for your purchase of The Heritage Farms hatching eggs! We hope that you have the optimal hatching rate success with our eggs so we have put together this step by step guide to help!

Steps to take when your eggs arrive.
​
  1. When your box of eggs arrives, open them with care and allow the eggs to sit in away from heat and light for 24 hours to allow the eggs to settle after travelling.
  2. If you have bought many eggs from various sellers, we recommend that you gently label each egg with the breed initials. You can use a pencil to do this, never use a pen! That way, you will know which eggs hatched, and you may have a better idea of which sellers you may want to purchase from again based on their egg fertility percentage.
  3. This is also the time to check the eggs for breakages and report back to the seller if necessary. Be prepared to send photos of broken eggs as proof.
  4. If you are waiting on more eggs to arrive, then it is ok to store fertilised eggs for up to a maximum of seven days as long as it is a cool room with a steady temperature. If you leave your eggs sitting any longer, your chances of hatching may be reduced. However, we have also done tests on this before, and we did actually have chicks hatching from eggs as much as 2 weeks old! So this is guidance only. A lot will depend on how you store them.
  5. Time to check that your incubator is working and ensure it has been recently sterilised with an incubation disinfectant (we use warm soapy water!). This will kill any bacteria in it that could multiply rapidly in the warm temperature of the incubator.
  6. Plug your incubator in and make sure the temperature is steady at around 37.5oC. Always leave it to run overnight to settle before putting the eggs in.
  7. When setting your eggs (putting them in the incubator) it is usually best to pop them on their sides in the incubator tray. This Is the larger end facing up, and the narrow end facing down in the incubator.
  8. Make sure your temperature and humidity settings are correct, or the automatic preset is set to the correct breed!
  9. Every day (between days 1 – 18) ensure the eggs are being turned. If you are manually turning your eggs, always do so with clean washed hands or wear gloves. This prevents the skin oils or germs from transferring to the shell and the developing chick. Many incubators do this automatically.
  10. Day 10+. It is time to candle the eggs! If you have chosen to candle the eggs, then this is the optimal time to do so. Candling is the act of shining a strong light through the egg to establish fertility and general embryo development. Ideally, use a specialised candling light, and always candle in a darkened room to have the best chance of seeing inside the shell. When candling, try to do so quickly, minimising the length of time the egg is away from the optimal temperature. It is sometimes best to candle a few eggs at a time for this reason. Any non-fertile eggs can be removed at this stage. To understand better how to candle and what you are looking for click here.
  11. Day 18 -21. If your incubator is on a stand that aids turning, then it is time to remove the incubator from the stand.  At this point, until hatching, the eggs do not need to be turned. By day 18, the embryo has developed into a chick and will take up most of the space in the egg. The chick is preparing to hatch.
  12. Hatch day! The chicks will not all hatch at once, but they will normally hatch within 2-3 days from now. Always let the chick hatch on its own. Don’t be tempted to intervene too early, as you could do more harm than good.  Although most chicks hatch within 5-7 hours of pipping, some chicks could take up to 24 hours to hatch. Pipping is the initial break in the shell, about the size of a dot.  When a chick has hatched completely clear of its shell, remove the shell but try and leave the chick inside the incubator for another few hours to let it dry and fluff up.  Once they are looking fluffy, they can be moved to their brooder and meet their fellow hatchlings! Candle any unhatched eggs to see if they are still alive before discarding them.  Hatched chicks need to be kept under a brooder or heat lamp.

We hope this helps you and guides you through out the hatching process! It can be daunting if this is your first hatching attempt but when the chicks start to hatch it is completely worth all the work! Happy hatching!!!
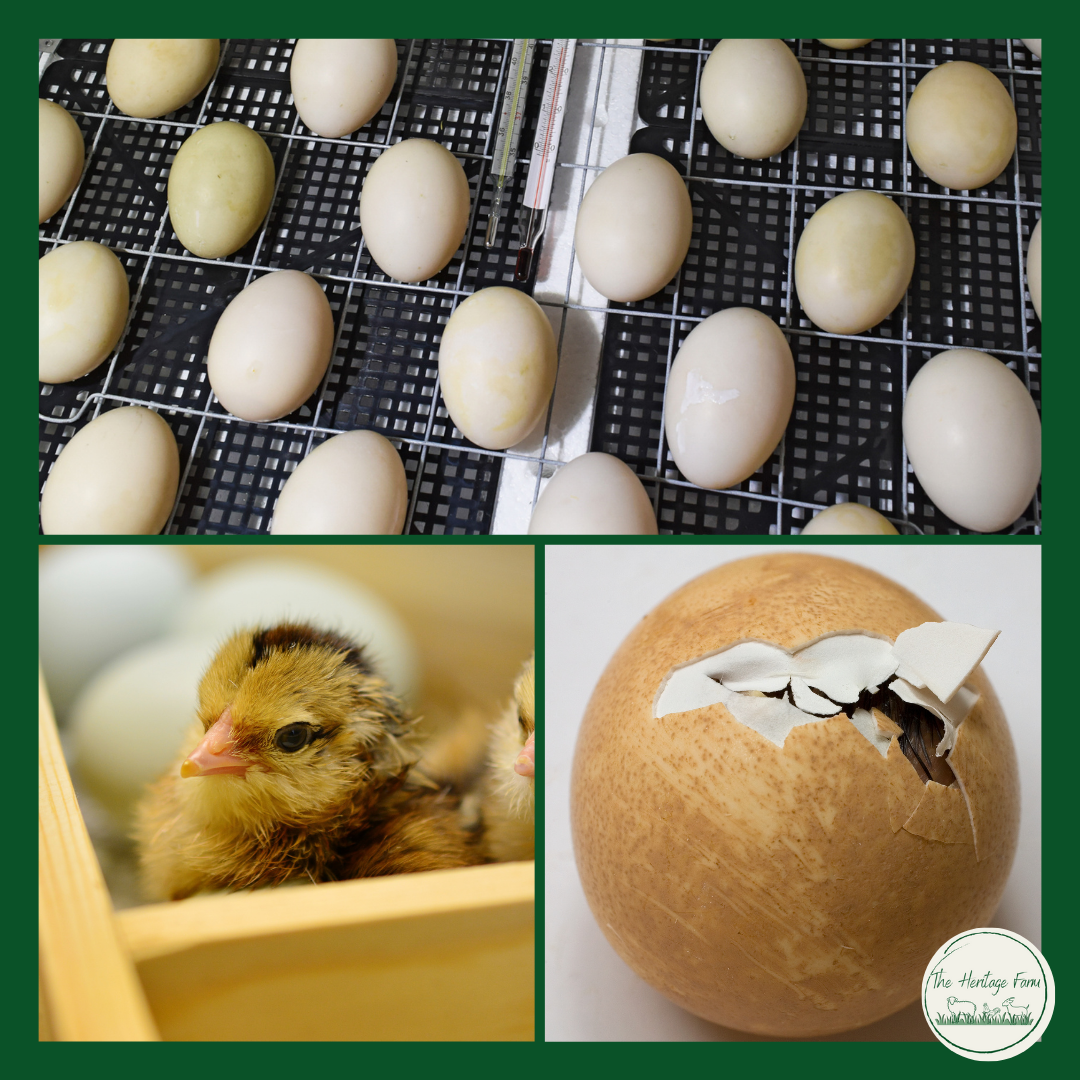
Picture
0 Comments

    Categories

    All
    DIY Cleaning Videos
    Farm Life
    Goats Milk Soap
    Hatching Eggs

    Archives

    September 2023
    March 2021

Powered by Create your own unique website with customizable templates.
  • Farm Shop
    • Goats Milk Soaps
    • Shampoo Bars
    • Gifts Options
    • Whipped Body Butter
  • About Us
  • Learn About Our Animals
    • Rare Breed Poultry & Game
    • Dorset Sheep
    • Nubian Goats
  • FAQ
  • Contact Us
  • Blog
  • Wait List - Poultry/Game
  • Wait List - Sheep/Goats